Reformat your Computer Disk Drive
WHY SHOULD YOU REFORMAT YOUR COMPUTER?
There might be a point in time when your computer frustrates you so much despite the time and effort you have invested to fixing a damaged software or removing a virus to no avail. Or perhaps, you have tried all sorts of ways to revive your system but it still runs so slowly. Generally, unless we have expertise knowledge on certain areas of troubleshooting, some problems can be difficult to resolve. When this happens, reformatting your computer usually helps. A clean reformat eradicates all problems and brings your computer back to a 'healthy' state!
UNDERSTANDING REFORMATTING AND ITS CAUSES
It's important to understand that a full formatting clears everything in your hard disk, checks and mark bad sectors and installs a fresh new working operating system. You get to start over, getting rid of old data, leftover files, and unused programs that were cluttering your hard disk. Therefore, backup any important files, especially those that reside in MY DOCUMENTS folder. Because once you format your computer, you might have a hard time saving those files which you might have missed out on backing-up even with data recovery.
WHAT SHOULD YOU PREPARE BEFORE YOU START
It's exciting to know that a brand new system awaits you - a virus-free and corruption-free speedy computer. Now before you start, determine if you have the necessary items because if you don't, you might have a hard time fixing certain issues once your system is up.The following is a must-have before you start:
- Windows operating system installation disc with CD-KEY
- Device Drivers
- Antivirus software
If you do not have all these items (perhaps you have thrown some of them away accidentally), an alternative is to download these drivers from the Internet. Log on to the manufacturers' website and visit their SUPPORT section. Most drivers, utilities and troubleshooting materials are usually posted under that section.
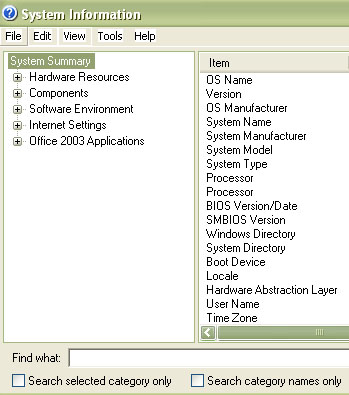
If you do not know the brand and model of your device, you can check using the System Information utility. To do so, follow these steps:
- Click Start, point to Programs, point to Accessories
- Point to System Tools and select System Information
- Explore under the System Information group list to identify the devices
- Once you have downloaded the necessary drivers and tools into your computer, transfer them into a removable drive such as a CD-R or a floppy disk.
REFORMAT YOUR COMPUTER (USING WINXP AS AN EXAMPLE)
- Set your BIOS to boot from CDROM
To do this, follow these steps: - Restart your computer
- Hit the DEL button or any key that enters the BIOS
- In the BIOS menu, enter the Boot Sequence from the Advanced BIOS option
- Select CD-ROM to be the first bootup device and HARD DISK to be second
- Save settings and exit the BIOS
- Insert Windows XP CD and restart the computer
- After you restart the computer, a message will prompt you to boot from CD. Hit any key.
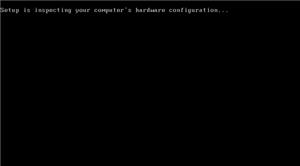
(click on thumbnail to view image) - Now, a blue screen will appear and begin loading XP setup from the CD
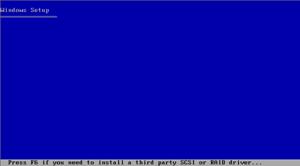
(click on thumbnail to view image) - Hit Enter to setup Windows XP
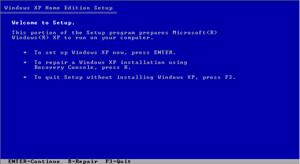
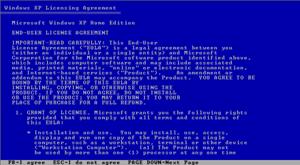
(click on thumbnail to view image) - After agreeing to the EULA, hit F8
(click on thumbnail to view image) - Select the drive to install Windows XP, then hit Enter
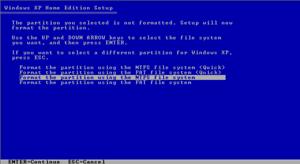
- Select Format the partition using NTFS File System(Quick)
Note: NTFS generally provides better security and reliable file system for Windows XP. Let's do a quick comparison and analysis to determine which file system is best for your system.
FAT32 is helpful if you're intending to install a dual operating system. It supports a partition up to a maximum of 32 GB and the maximum size of a file is limited to 4GB. Provides better performance if you have partitions that are 2GB or less.
NTFS provides file security, compression and encryption. It supports a maximum file size up to its disk volume. Generally runs faster on larger disk with quick boot up time. It is incompatible with Windows Millennium and all older versions.

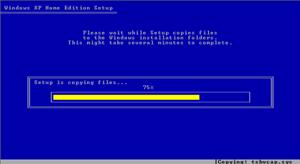
(click on thumbnail to view image) - System will format the partition and the installation files will be copied.
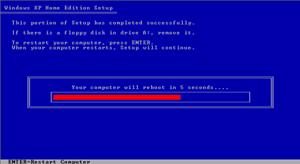
(click on thumbnail to view image) - The computer will reboot.
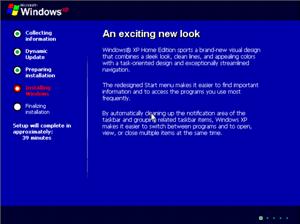
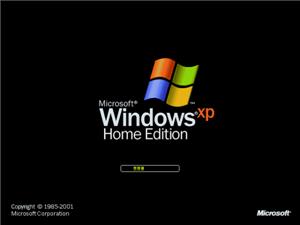
(click on thumbnail to view image) - Setup commences.
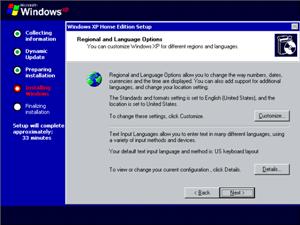
(click on thumbnail to view image) - The first form that appears is the Regional And Language Options. Determine your preferred settings and click Next.
(click on thumbnail to view image) - You will be prompted to enter your Name & Organization.

(click on thumbnail to view image) - Next, enter your Windows XP CD-Key. This key is usually attached with the CD jewel case or license. After that, click Next.

(click on thumbnail to view image) - Now, enter an computer name. Click Next.

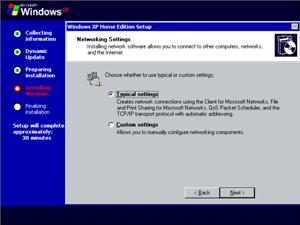
(click on thumbnail to view image) - Next, you'll be prompted to select a network setting. Select Typical Settings and click Next. Click Next again.
(click on thumbnail to view image) - Windows XP Setup resumes its installation.

(click on thumbnail to view image) - After Windows XP is setup, you can now install all your device drivers and application software and restore any backup files and you're almost done!
(click on thumbnail to view image)
All Screen Captures Courtesy of The Elder Geek on Windows XP
Source: http://www.theeldergeek.com